Ask any makeup artist or makeup enthusiast and they will tell you that contour and highlight is a crucial step in sculpting and defining the face, and no it's NOT just about adding bronzer to your face; it’s about strategically placing shadow and highlight to enhance or change your natural bone structure. The trick is knowing where to apply these products based on your unique face shape.
When done right, highlight and contour can define cheekbones, sharpen the jawline, widen or thin the nose and bring symmetry to the face. But using the wrong technique can lead to an unwanted or unbalanced look; remember we use highlight and contour to make a person look 30 years older than they are. So understanding your face shape is the first (and the most important) step toward contouring like a pro. Once you know your face shape, you can apply contour precisely where it’s needed to go and create the exact look you want.
Your Face Your Contour and Highlight
Contouring works by adding depth and dimension to the face, using darker shades to create shadow and push back certain areas and lighter shades to create highlight and bring forward certain areas. The key to a killer contouring is knowing where to place light and dark. What works for one person may not work for another, highlight and contour is not a one fits all kind of deal. If you contour without considering your face shape, you may end up with a makeup look that you are not happy with.
As the saying goes, you have to know the rules to break them, and we love breaking makeup ‘rules’, however you have to understand contouring and highlighting first before you can use it, and change it, to express yourself. Below are the standard steps for the ‘ideal face shape’, BORING, but it will give you the best understanding of shadow and light, highlight and contour.
For example, a round face may benefit from contouring that creates angles, while a square face can be changed with softening techniques that balance strong lines. A long face may want contouring that visually shortens the length of the face, while a heart-shaped face could contour to reduce width at the forehead while highlighting to enhance the jawline.
Figuring out your face shape and what YOU want to enhance or change and you will create the best look for you.
How to Determine Your Face Shape
Figuring out your face shape is the first step so let's do it! Easiest way to do this is to pull your hair back and examine the widest and longest parts of your face. Below are some examples of common face shapes but remember you are unique so you may fit in to more than one or even none of the shapes below.
Oval: The forehead is slightly wider than the chin, and the face has balanced proportions with softly curved lines.
Round: The width and length of the face are nearly equal, with softer, rounded features and full cheeks.
Square: The forehead, cheekbones, and jawline are roughly the same width, giving a strong, angular appearance.
Heart: The forehead is the widest part, with a narrow jawline and a pointed chin.
Diamond: The cheekbones are the widest part of the face, with a narrower forehead and jawline.
Rectangle/Oblong: The face is longer than it is wide, often with a straight, structured jawline and forehead.

How to Contour and Highlight for Your Face Shape
Oval Face
If you have an oval face, your features are naturally balanced, so contouring is more about subtle enhancement than correction.
If you would like to enhance your cheekbones apply contour just under them, beginning near the ear and blending toward the center of the face. This will add depth and accentuates your natural structure. You can also lightly apply contour around the hairline to make your forehead appear slightly shorter. Use a highlight on the center of the forehead, down the bridge of the nose, and on the chin if you would like to bring forward those areas. Make sure that everything is blended well; we don't want to see the highlight and contour, we just want to see your beautiful face.

Round Face
With a round face, the goal is to create a definition and the illusion of a more sculpted shape.
Apply contour along the sides of the forehead and temples to shorten the width of the forehead. Then, focus on the hollows of the cheeks—start at the ear and angle the contour down slightly toward the mouth. This creates the illusion of higher cheekbones. To refine the jawline, lightly blend contour along the outer edge of the jaw and continue under the jawline and chin. Highlighting just the center of the face; forehead, bridge of the nose, and chin. This will help lengthen the appearance of the face, making it look less rounded.

Square Face
A square face has strong, angular features, so contouring can help soften those edges while maintaining definition.
Apply contour at the sides of the forehead and blend toward the hairline to minimize width in that area. Contouring along the jawline and not under it can soften its angular shape, but make sure to blend well so the result is subtle and not overly structured. The key is a soft approach—avoid harsh lines by using a well-blended, diffused contour. Highlight the center of the face, including upper cheekbone, the center of the forehead, and the chin, to maintain a fresh, balanced look.

Heart-Shaped Face
A heart-shaped face has a wider forehead and a narrower chin, so contouring should balance these proportions.
To minimize the width of the forehead, apply contour along the temples and blend toward the hairline. Lightly define the cheekbones, but avoid creating a higher contour than your natural cheek, as this can make the lower half of the face appear even smaller. To balance the bottom of the face, apply highlight at the outer edges of the jawline, blending it upward to create a natural transition. Highlight in the center of the face to draw attention to the middle of the face and bring harmony to the overall look.

Diamond Face
Diamond-shaped faces have prominent cheekbones, so contouring should focus on balancing the width of the face.
Apply a small amount of highlight to the temples and along the outer jawline to create a more proportional effect. Avoid applying too much contour directly under the cheekbones, as this can make them appear overly prominent. A soft highlight at the center of the forehead and chin can help to create a more elongated shape. Blending is key to keeping the contour and highlight looking seamless and natural.

Rectangular/Oblong Face
For long faces, the goal is to create the illusion of width and balance the length.
Contour along the hairline at the top of the forehead to visually shorten the face. Apply contour along the bottom of the chin to make the face appear more proportional. Instead of angling contour under the cheekbones, place it more horizontally to add width to the face. Adding highlighting under the eyes and on the tops of the cheekbones can help to widen the middle of the face and keeps the look fresh and bright without elongating the face further.

Pro Tips for Flawless Contouring
-
Blend thoroughly. The key to natural-looking contour is seamless blending. Use the right brush with the right product to prevent harsh lines.
-
Use the right shade. Your contour should be one to two shades darker than your natural skin tone, but the key is it has to have a cool undertone to mimic shadows.
-
Highlighter does not mean shimmer. When using highlight to enhance or change the face shape use a shade one to two shades lighter than your natural skin tone with no pearlescent. A shimmery highlight can add brightness and an appearance of youth but it is not well suited for sculpting and defining the face.
-
Less is more. Start with a light hand and build up the product gradually. Over-contouring or using the wrong color can lead to an unnatural, muddy appearance.
Choosing the Right Contouring Tools
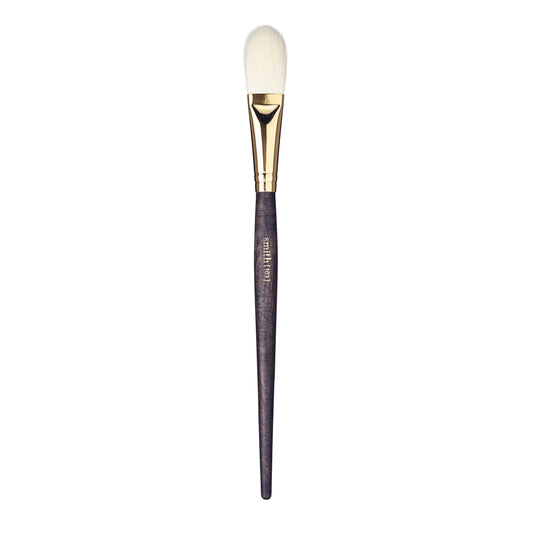
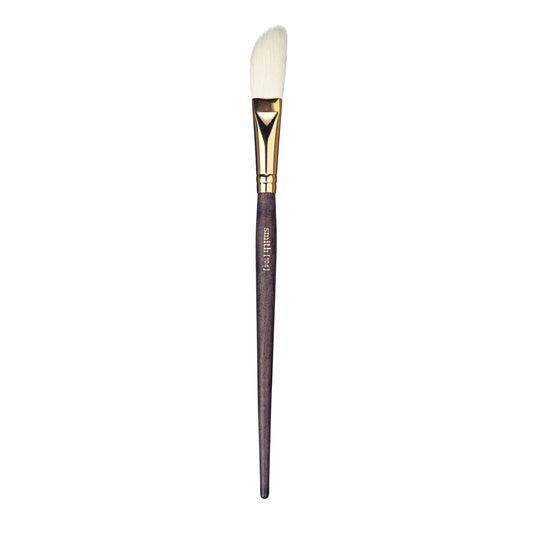
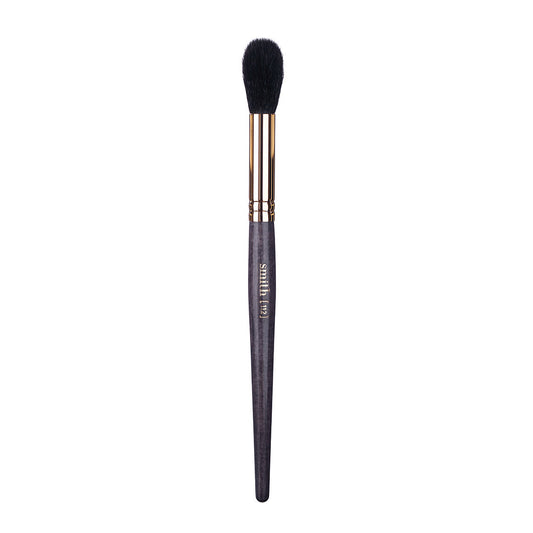
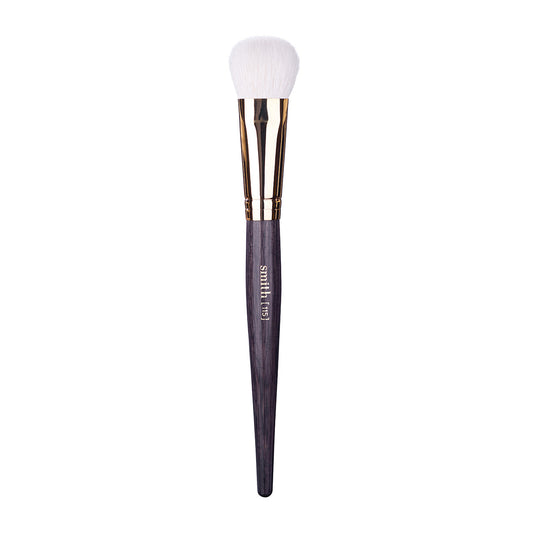
Using the right tools is just as important as the technique. If you're unsure which brushes to use, check out our guide on choosing the right makeup brushes, which breaks down the best tools for contouring, blending, and achieving a flawless finish


Final Thoughts
Understanding your face shape can help you see what you love about your face and then use highlight and contour to enhance, exaggerate or even reduce those features. But remember there is no one right answer; maybe you fit into one of the defined shapes above or maybe you have a squoval shaped face (square and oval), whatever face shape you have, it is unique to you and deserves a unique makeup application.
Experiment with different placements and blending techniques to find what works best for you. The more you practice, the more intuitive highlighting and contouring will become. Looking at the face shapes of friends, family and even celebrities will help you truly understand the face and soon, you'll be sculpting like a pro with ease.


